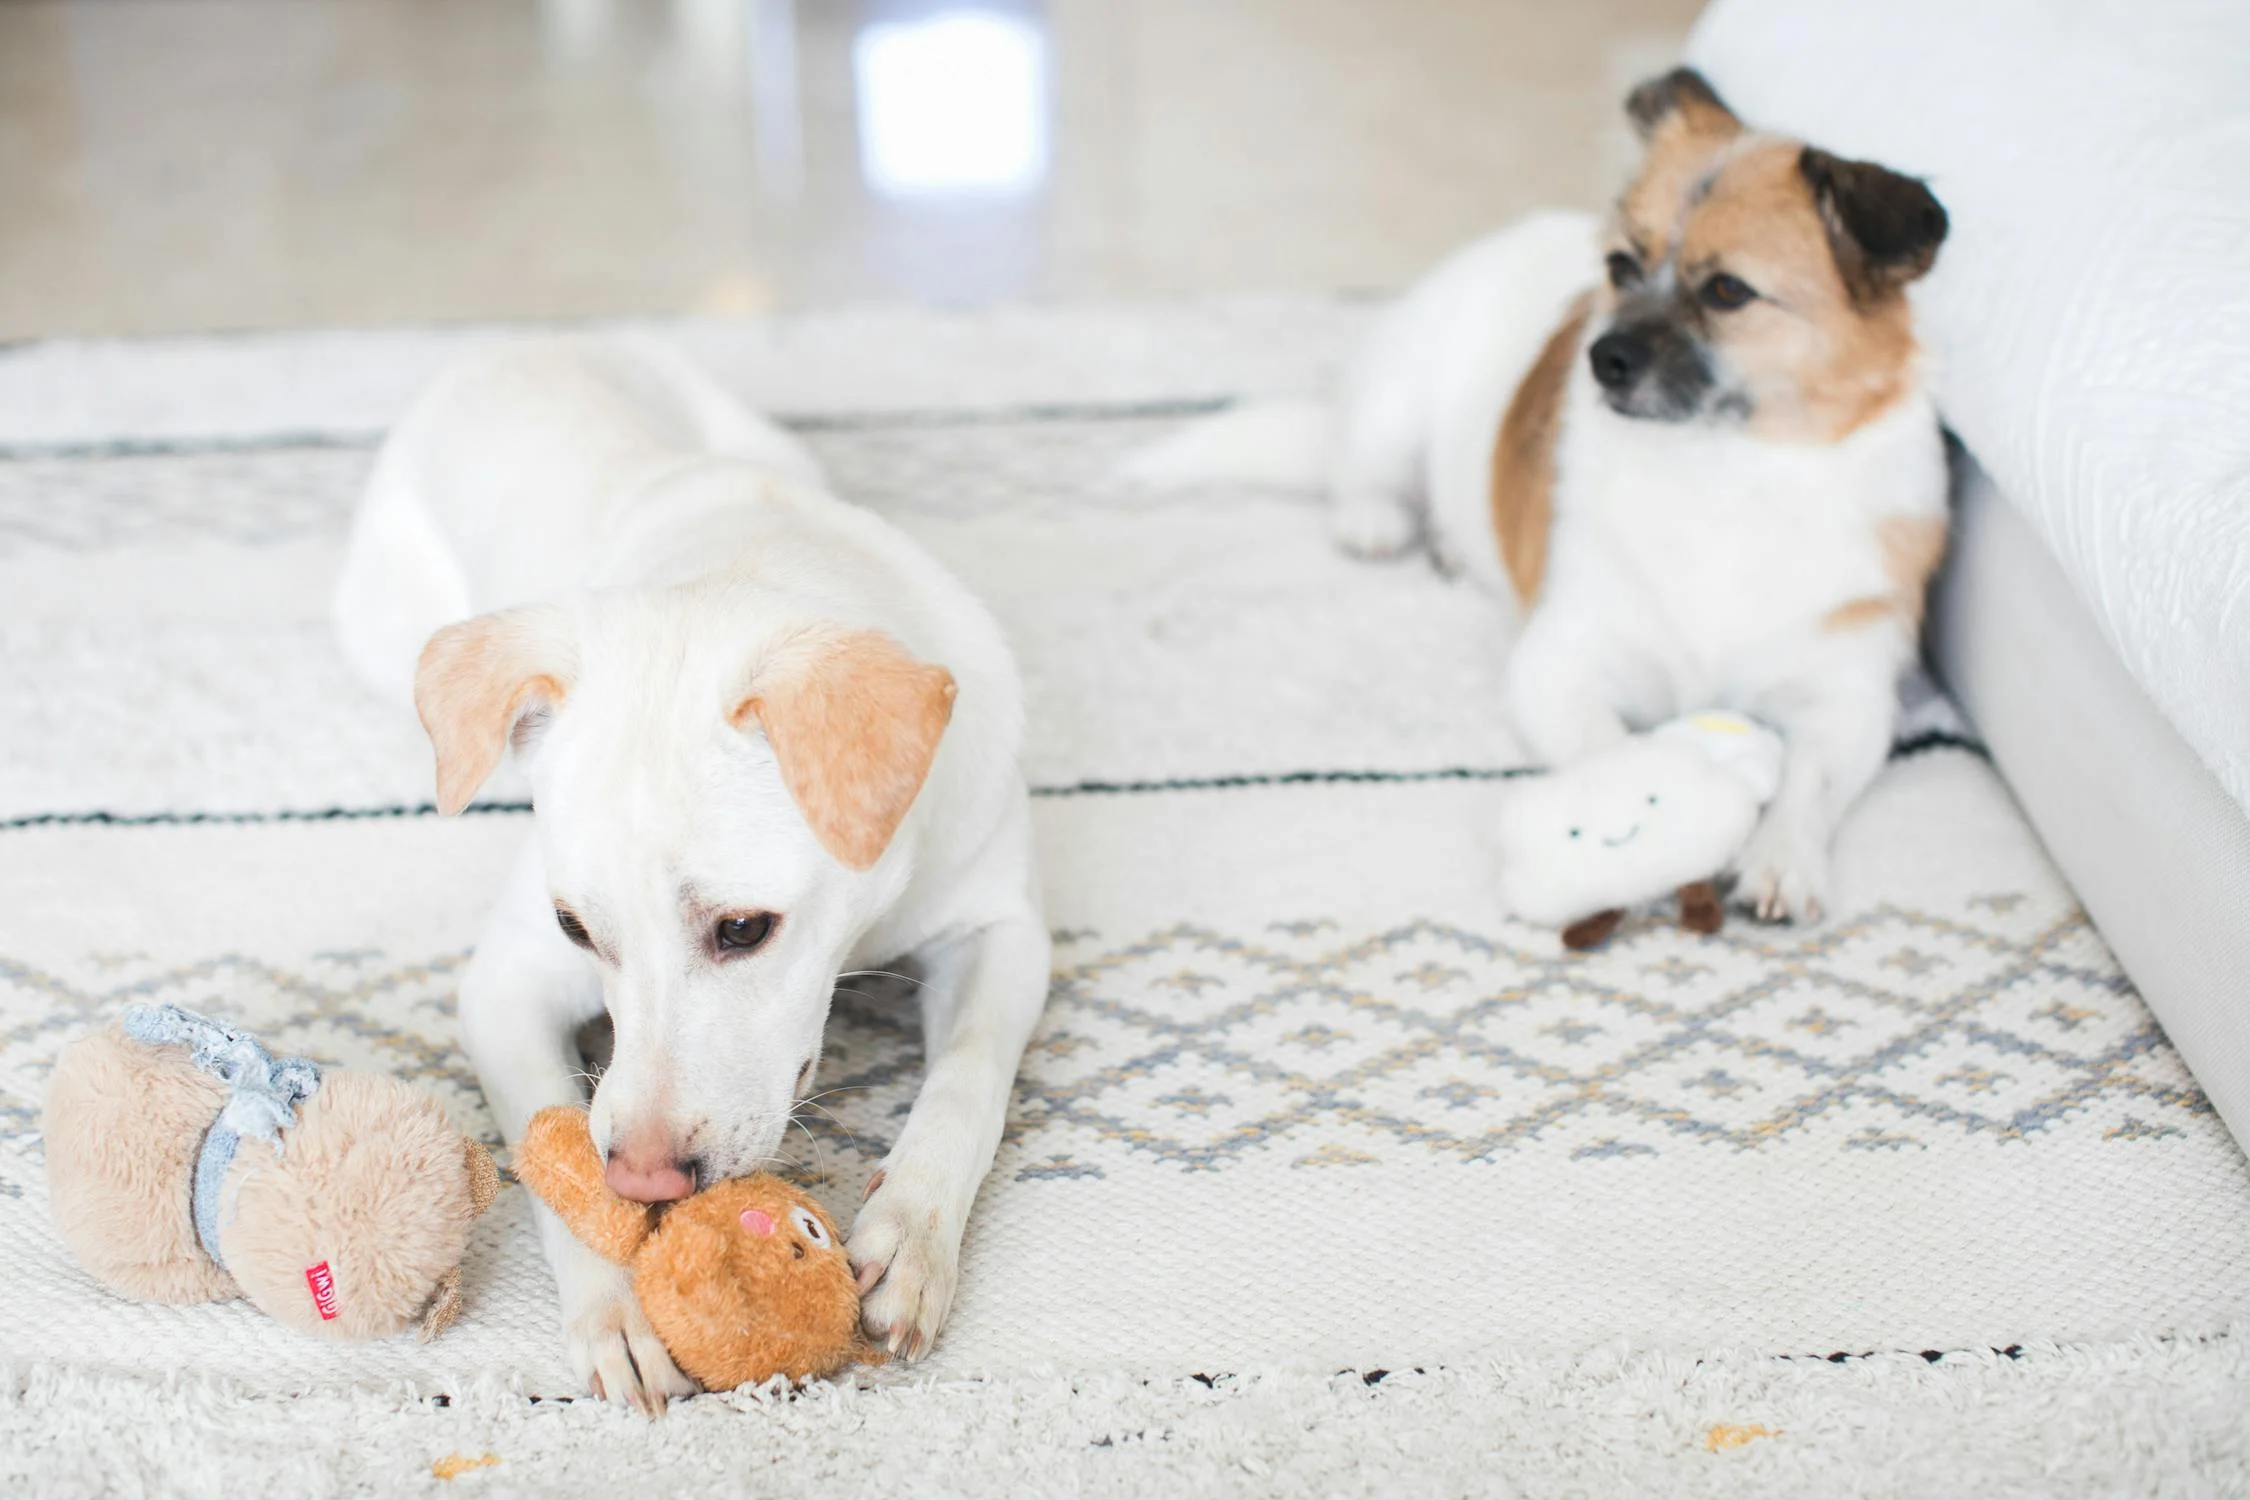
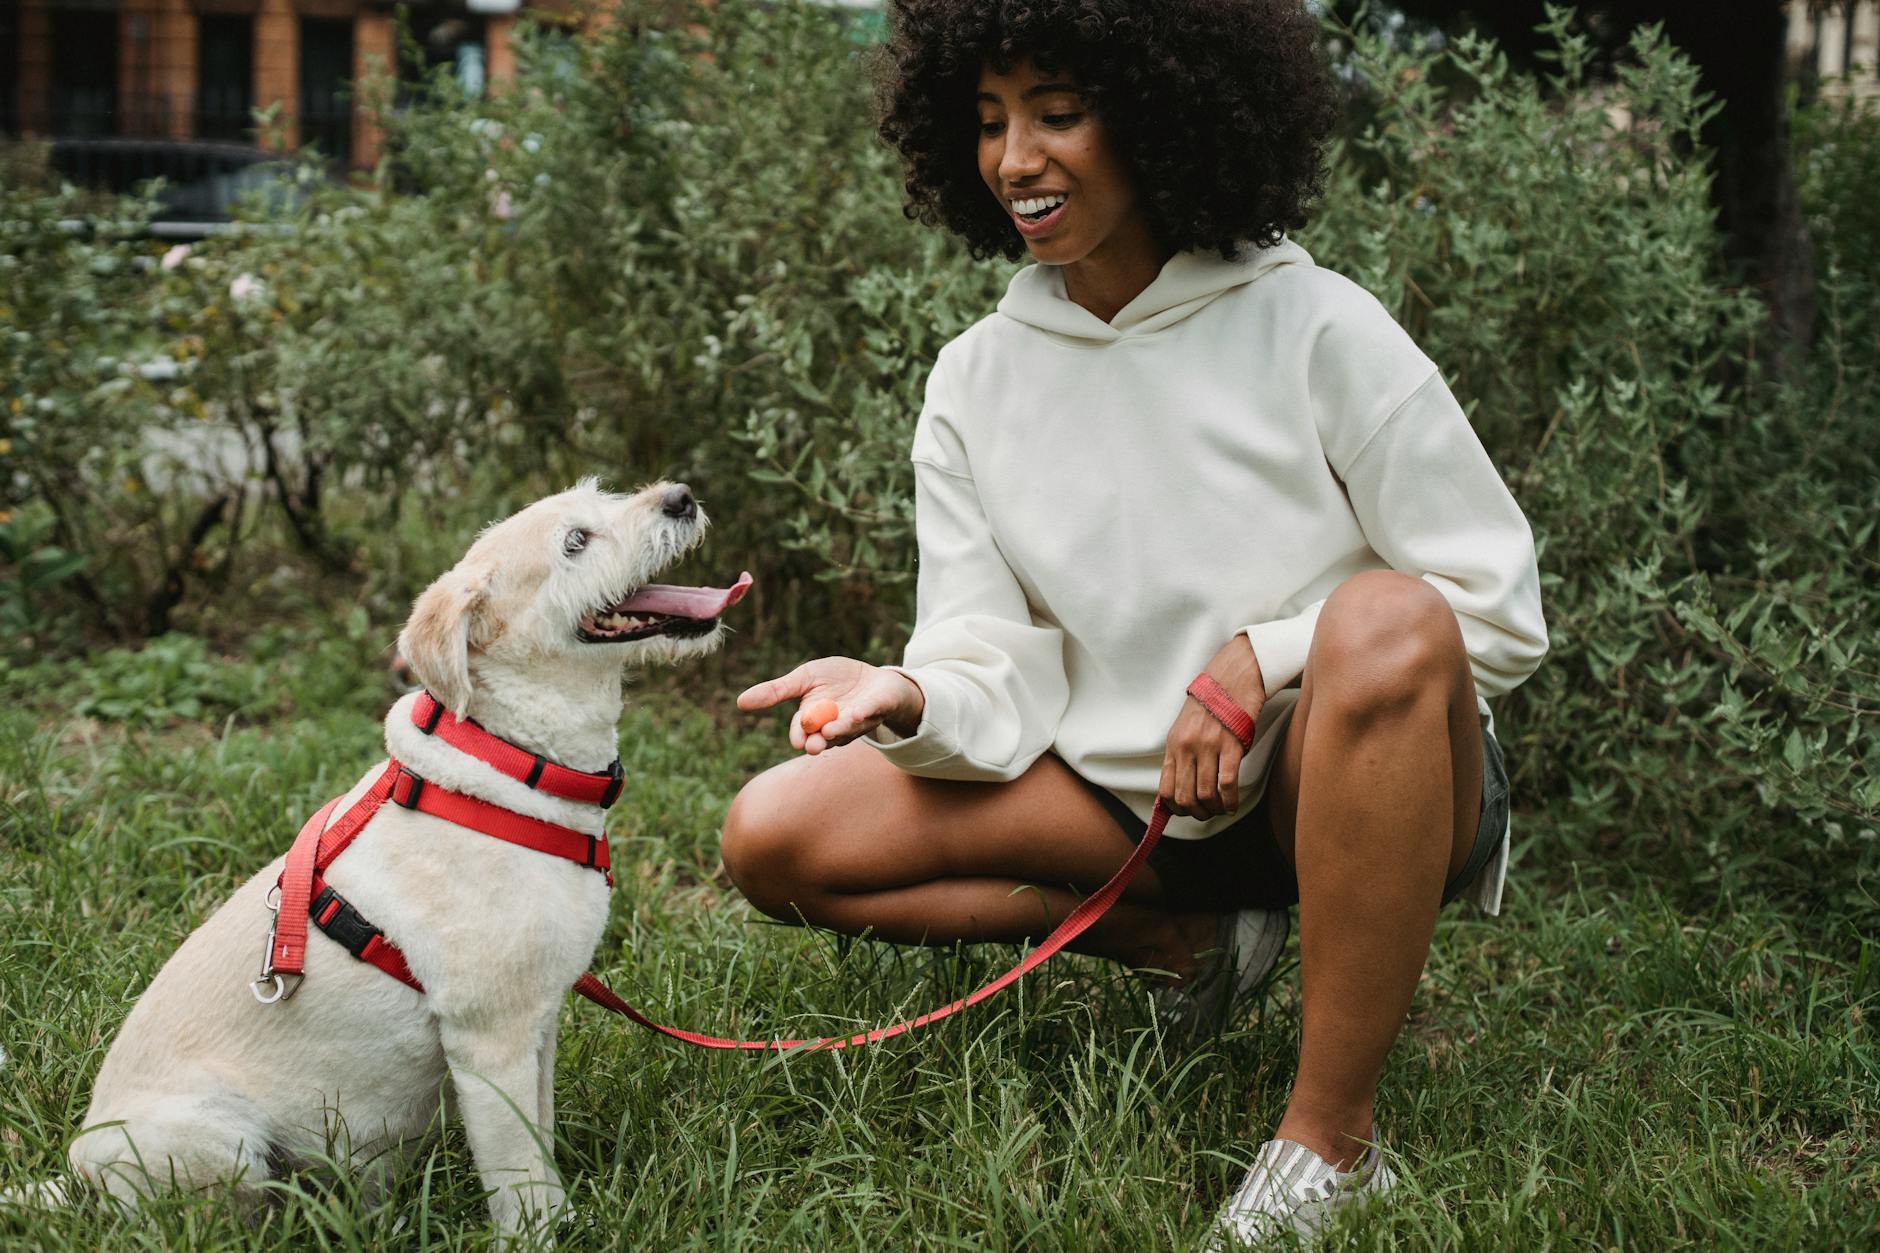
Welcome to the exciting world of DIY dog toys, where creativity meets practicality in the quest to enhance your furry friend’s playtime. As a devoted pet owner, you recognize the importance of keeping your dog entertained, stimulated, and bonded to you. While the market is flooded with a variety of store-bought toys, they often come with a hefty price tag and lack the personal touch that can make playtime truly special. This article will guide you through creating affordable, safe, and enjoyable toys using materials you likely have at home, fostering a deeper connection between you and your pet through the shared joy of crafting and play.
Key Takeaways
- DIY dog toys are a cost-effective alternative to store-bought options and can be made with common household items.
- Creating toys at home can strengthen the bond between you and your dog, providing a shared activity and personalized playtime.
- Homemade toys can be tailored to your dog’s specific needs, such as chew strength and cognitive stimulation.
- Regular inspection and maintenance of DIY toys are crucial for your dog’s safety, ensuring they remain durable and free of hazards.
- Engaging in DIY projects for your dog encourages creativity and can involve the whole family for a fun and rewarding experience.
The Joy of Crafting: DIY Dog Toys for Every Pup

Why Making Your Own Dog Toys is Rewarding
Embarking on the journey of creating DIY dog toys is not just a path to saving money, it’s a venture into enriching your dog’s life and strengthening your bond. The act of crafting with care and watching your dog engage with a toy that you’ve made is incredibly fulfilling.
- Personalization: Tailor toys to your dog’s preferences.
- Quality Time: Bond during both creation and play.
- Unique Gifts: Share your creations with friends and their pets.
By making your own dog toys, you’re ensuring a unique play experience that can’t be bought. This hands-on approach to your dog’s entertainment and stimulation is a rewarding process that brings joy to both you and your furry friend.
As you continue to craft and your dog continues to play, you’ll find that the cycle of making and playing becomes a cherished routine. The shared experience of play, especially with toys infused with your love and effort, is a source of deep satisfaction. And remember, these homemade treasures can also serve as thoughtful gifts, spreading happiness to other dogs and their owners.
Materials You’ll Need for Your DIY Projects
Embarking on the DIY dog toy adventure begins with gathering the right materials. Selecting non-toxic and durable items is essential for your furry friend’s safety and the longevity of the toys. Here’s a basic list to get you started:
- Soft materials like fleece strips, ideal for certain toys
- Nylon fabric (coated oxford) for heavy-duty toys
- Basic sewing supplies: thread, ruler, scissors, chalk or fabric marker
- Tools for assembly: clips or pins, sewing machine, heavy duty needle
Remember, the softer the materials, such as a blend of cotton and hemp, the better. These are less likely to contain indigestible fibers, making them safer for your pup.
While creativity is at the heart of DIY projects, never compromise on the safety of the materials. Avoid small parts that could be choking hazards and opt for fabrics that are safe if ingested in small amounts.
As you prepare to create, consider the joy and bonding that comes with crafting something special for your dog. Use this guide as a starting point and let your imagination lead the way to unique and personalized toys.
Step-by-Step Guides for Beginners
Embarking on your first DIY dog toy project can be as fun as it is fulfilling. Start with simple designs that require minimal materials and tools. Here’s a basic guide to help you create your first homemade toy:
- Choose a design suitable for your dog’s size and chew strength.
- Gather all necessary materials, such as old t-shirts, tennis balls, or socks.
- Follow the instructions carefully, ensuring each step is completed before moving on.
- Always prioritize your dog’s safety by avoiding small, easily swallowed items.
Remember, the goal is to make a toy that’s both safe and enjoyable for your furry friend. Take your time and enjoy the process of crafting something special for your pup.
Once you’ve mastered the basics, you can explore more complex toys. For example, a title from Instructables suggests making Dog Toys for Heavy Chewers; these can be scaled to fit your dog’s needs. As you gain confidence, you’ll find that the possibilities for creating unique and engaging toys are nearly endless.
Engaging Your Dog’s Mind: Homemade Puzzle Toys

Creating a Water Bottle Treat Puzzle
Transform an ordinary water bottle into a fascinating treat puzzle for your dog with just a few simple steps. This easy DIY project is perfect for pet owners looking to engage their dog’s mind and provide mental stimulation during playtime.
First, gather your materials: an empty water bottle, a pair of scissors, and your dog’s favorite treats. Make sure the bottle is clean and free of any labels or residue. Next, carefully cut small holes in the water bottle, just large enough for the treats to fall out when the bottle is rolled. The size of the holes should be challenging enough to keep your pup entertained but not so difficult that they become frustrated.
Here’s a quick guide to get you started:
- Clean the water bottle thoroughly.
- Remove any labels or adhesive residue.
- Cut small holes in the bottle.
- Insert treats into the bottle.
- Close the cap securely.
- Watch your dog enjoy the challenge!
Remember, the goal is to make the puzzle achievable yet stimulating. Adjust the size of the holes based on your dog’s size and skill level to ensure they have a rewarding experience.
This DIY toy not only provides entertainment but also encourages your dog to think creatively to access their reward. It’s a win-win situation where your dog gets to enjoy a fun activity, and you get to upcycle a common household item.
Assembling a PVC Pipe Puzzle
Creating a PVC pipe puzzle is a fantastic way to engage your dog’s problem-solving skills. Cut the PVC pipe to a desired length and drill holes large enough for treats to pass through. It’s essential to sand down any rough edges to ensure your dog’s safety. Here’s a simple guide to get you started:
- Gather your materials: You’ll need a PVC pipe, two end caps, and a drill.
- Measure and cut the PVC pipe to a manageable size for your dog.
- Carefully drill holes along the pipe.
- Sand the edges of the holes to make them smooth.
- Cap one end of the pipe, fill it with treats or kibble, then secure the other cap.
This DIY toy not only provides mental stimulation but also a satisfying reward as your dog figures out how to release the treats.
Remember, the size of the holes should correspond to the size of the treats to prevent frustration. Once assembled, introduce the puzzle to your dog and watch as they enjoy the challenge of retrieving their tasty rewards. For a simpler alternative, consider using a clean plastic bottle with holes drilled in it, which can be just as entertaining for your pup.
Designing a Muffin Tin Challenge
The muffin tin challenge is a delightful way to engage your dog’s problem-solving skills. Start by placing a treat in each cup of the muffin tin, then cover them with tennis balls or toys. Your dog will have to figure out how to remove the obstacles and claim their reward. This game is not only fun but also provides excellent mental stimulation.
For an added twist, vary the items you use to cover the treats. Balled-up paper, small fabric pieces, or even a mix of different toys can make the game more challenging and exciting for your pup.
Here’s a simple guide to get you started:
- Gather your materials: a muffin tin, dog treats, and 12 tennis balls or other coverings.
- Place a treat into each muffin cup, or just a few to increase difficulty.
- Cover each cup with a tennis ball or alternate item.
- Encourage your dog to explore and discover the hidden treats.
Remember, the goal is to stimulate your dog’s senses and make the search for treats a rewarding experience. Keep the sessions short and sweet to maintain their interest and prevent frustration.
Active Play Essentials: DIY Fetch and Tug Toys

Crafting a Tennis Ball Foxtail
Transform a simple tennis ball into a thrilling fetch toy that will keep your dog entertained for hours. The Tennis Ball Foxtail, inspired by the classic ’90s game, is a delightful twist on traditional fetch toys. With a few materials and some basic sewing skills, you can create this engaging toy that’s perfect for outdoor play.
The beauty of the Tennis Ball Foxtail lies in its simplicity and the joy it brings to your furry friend. It’s a toy that encourages active play and can be made with items you likely already have at home.
Here’s what you’ll need to get started:
- Tennis ball
- Scrap fabric
- Sewing machine or needle and thread
- Dental floss (for extra durability)
- Needle-nose pliers (optional, for handling the needle)
Follow these steps to create your own Foxtail:
- Cut the scrap fabric into strips.
- Securely wrap the fabric around the tennis ball.
- Use dental floss to stitch the fabric in place, ensuring it’s tight and won’t unravel.
- Leave a tail of fabric strips to create the ‘foxtail’ effect.
- Encourage your dog to catch by the tail for a fun twist on fetch.
Remember, while this toy is durable, it’s important to regularly check for signs of wear and tear to keep your dog safe during playtime.
Making a Ball and Tug Toy
Creating a ball and tug toy for your furry friend is not only a fun activity but also a fantastic way to repurpose old materials you have at home. This simple DIY project can be completed in just a few minutes and is perfect for chewers, puppies, and dogs that love to play fetch and tug-of-war.
To get started, you’ll need an old t-shirt, a tennis ball, and a pair of scissors. No sewing skills are required, making this an easy craft for DIY beginners. Here’s a quick guide to assembling your homemade ball and tug toy:
- Cut the t-shirt into strips.
- Insert the tennis ball into the toe area of the t-shirt.
- Gather the strips and tie them off to secure the ball.
- Braid the remaining strips to create the tug portion.
- Knot the end of the braid to prevent fraying.
Remember, the joy of DIY is in the customization. Feel free to experiment with different fabrics or add extra knots for more texture.
Once you’ve completed your toy, engage in a playful game of tug-of-war or throw it for a game of fetch. Your dog will love the new addition to their toy collection, and you’ll appreciate the cost savings and personal touch.
Constructing a Flirt Pole for Energetic Dogs
A flirt pole is a fantastic way to engage your dog in active play and can be easily made at home with a few simple materials. This toy is especially great for energetic dogs that require a lot of exercise and mental stimulation. To get started, you’ll need a PVC pipe, some rope or bungee cord, and an old fluffy dog toy. Here’s a quick guide to help you create your own:
- Start by cutting the PVC pipe to a comfortable length for you to hold.
- Next, attach the rope or bungee cord to one end of the pipe. Make sure it’s secure!
- Tie the fluffy dog toy to the other end of the rope. This will be the lure for your dog to chase.
- Wrap the handle part of the PVC pipe with sports tape for a better grip.
Remember, the key to a successful flirt pole is ensuring that it’s both sturdy and safe for your dog to play with. Regularly check the toy for any signs of wear and tear, and replace it when necessary.
Creating a flirt pole can be a rewarding experience, as it not only provides your dog with a fun toy but also strengthens the bond between you and your pet. Plus, it’s a cost-effective alternative to store-bought toys.
Chew on This: Durable Dog Toys You Can Make

Braiding a T-shirt Chew Toy
Transform your old t-shirts into a delightful chew toy for your furry friend with just a few simple steps. Cut the t-shirts into 2-inch wide strips and gather them to start your project. This DIY chew toy not only provides a fun activity for your pup but also offers a comforting scent of you, which can help ease separation anxiety.
- Cut the T-shirts into strips approximately 2 inches wide.
- Gather the strips and tie a knot at one end, leaving a little tail.
- Separate the strips into three groups and braid them tightly together.
- Once you reach the end, tie another knot to secure the braid.
This easy-to-make toy is perfect for chewers and puppies, and it’s a great way to repurpose gently worn t-shirts. For added durability, consider using rope instead of t-shirt strips. Remember, the joy of DIY is not just in the creation but also in watching your pup’s excitement as they play with their new toy.
Knotting a Denim Chew Toy
Transform your worn-out denim into a tough chew toy that your furry friend will adore. This no-sew project is not only cost-effective but also a delightful way to recycle old jeans. Simply cut strips from the denim and knot them together to create a durable toy perfect for chewers and puppies alike.
- Difficulty: Easy
- Best Suited for: Chewers and puppies
- Materials: Old denim jeans, scissors
Ensure the denim strips are long enough to tie multiple knots, creating a textured toy that’s ideal for gnawing.
Remember, the joy of DIY is in the customization. Feel free to add your personal touch by combining different denim shades or incorporating other fabrics for added interest. Your dog’s engagement with this homemade chew toy will be a testament to your crafty efforts.
Repurposing Water Bottles for Chew and Toss Fun
Empty water bottles can be transformed into an exciting toy for your furry friend with just a few simple materials. The crunchy sound and texture of a water bottle wrapped in fabric are irresistible to dogs, providing them with hours of chew and toss fun. Here’s how you can make your own Water Bottle Crunchers Dog Toy:
- Find an empty plastic water bottle, preferably 20 oz. or smaller.
- Choose a piece of fabric, like an old t-shirt or bed sheet.
- Cut the fabric into a large enough piece to wrap around the bottle.
- Insert the bottle into the fabric and tie the ends to secure it.
This DIY toy is not only easy to make but also refillable, ensuring your pup never runs out of the crunchy fun they love.
Remember to always supervise your dog during playtime to ensure they don’t ingest any plastic. And when the bottle gets too worn, simply replace it with a new one and rewrap it in the fabric for a brand-new toy experience.
Safety and Maintenance: Keeping DIY Dog Toys Secure

Regular Inspection and Replacement of Toys
Keeping your DIY dog toys in top shape is crucial for your pet’s safety and enjoyment. Regularly inspecting toys for signs of wear and tear is a must. If you notice any damage, such as tears, broken pieces, or parts that could be chewed off and swallowed, it’s time to repair or replace the toy. This not only prevents potential choking hazards but also ensures that your furry friend always has fun, safe toys to play with.
When it comes to DIY dog toys, durability is key. Choose materials that can withstand your dog’s chew strength and play habits. For example, if you’ve made a toy using a PVC pipe, ensure that all edges are smoothed out to prevent any injuries.
Here’s a simple checklist to follow during your toy inspections:
- Check for any loose strings, ribbons, or parts
- Look for tears or breaks in fabric toys
- Examine seams and knots for signs of weakness
- Test squeakers and other interactive elements to ensure they’re secure
Remember, cleaning your dog’s toys is just as important as inspecting them. Toys can harbor bacteria and germs, so clean them every few weeks to keep your dog healthy and your home hygienic.
Choosing the Right Materials for Your Dog’s Chew Strength
Selecting the appropriate materials for your DIY dog toys is essential, especially when catering to a heavy chewer. It’s not just about durability; it’s about ensuring the safety and longevity of the toys you craft. For instance, a woven rope bone is a fantastic choice for dogs that love to gnaw and tug, providing both durability and a satisfying texture for your pup.
When considering materials, think about your dog’s size and chewing intensity. Here’s a simple guide to help you match materials to your dog’s needs:
- Small dogs/puppies: Soft fabrics, fleece, or small ropes
- Medium chewers: Standard ropes, denim, or medium-hard rubber
- Heavy chewers: Thick ropes, durable nylon, or tough rubber toys
Remember, the goal is to create toys that are safe and enjoyable for your dog. Always avoid materials that can easily break into small pieces or are toxic if ingested.
Regularly inspect your homemade toys for signs of wear and tear. If you notice fraying ropes or worn-down materials, it’s time to replace the toy to prevent any potential health risks. By choosing the right materials and maintaining your DIY dog toys, you’ll provide countless hours of safe, stimulating play for your beloved pet.
Tips for Cleaning and Storing Handmade Dog Toys
Keeping your dog’s handmade toys clean is essential for their health and longevity. Regular cleaning helps eliminate harmful bacteria and germs that can accumulate on your pet’s favorite playthings. For fabric toys, check for any damage before washing and follow any available care instructions. If in doubt, hand wash or use a gentle cycle with cold water, then squeeze out excess water and air dry or use low heat.
For plastic toys, a pre-wash in soapy water followed by a bleach solution soak can be effective. Always rinse thoroughly and let them air dry. Remember, safety comes first; always use non-toxic materials and avoid small parts that could pose a choking hazard.
Storing your DIY dog toys properly can also extend their life. Here’s a simple guide to ensure your furry friend’s toys stay in great shape:
- Inspect toys regularly for signs of wear and tear.
- Clean toys every few weeks to prevent bacteria buildup.
- Store toys in a dry, ventilated area away from direct sunlight.
- Keep fabric toys in a sealed container or bag to protect them from dust and pests.
When it comes to DIY dog toys, the adage ‘cleanliness is next to dogliness’ holds true. A clean toy is a safe and enjoyable toy for your beloved pet.
Wrapping Up: Unleash the Fun with DIY Dog Toys
As we’ve explored the world of DIY dog toys together, it’s clear that the joy of playtime doesn’t have to come with a hefty price tag. With a little creativity and some household items, you can craft a variety of toys that will keep your furry friend entertained, engaged, and mentally stimulated. Remember to prioritize safety by monitoring your dog’s play and regularly inspecting toys for wear and tear. Whether you’re sewing a tennis ball foxtail or assembling a PVC treat puzzle, the time and love you invest in these homemade treasures will undoubtedly strengthen the bond between you and your pup. So grab your supplies, and let’s get crafting – your dog’s tail-wagging happiness is the ultimate reward!
Frequently Asked Questions
Why should I consider making DIY dog toys?
DIY dog toys can save you money, provide mental and physical stimulation for your dog, and allow you to customize toys to your dog’s preferences. Additionally, making toys can be a fun and rewarding bonding activity between you and your pet.
What materials do I need to make DIY dog toys?
Common materials include tennis balls, old t-shirts, denim, PVC pipes, water bottles, and muffin tins. You’ll also need basic crafting tools like scissors, sewing needles, and thread, depending on the project.
Are homemade dog toys safe?
Homemade dog toys can be safe if you choose appropriate materials for your dog’s chew strength and regularly inspect toys for damage. Always monitor your dog during playtime and remove any toys that become broken or pose a choking hazard.
How do I make a puzzle toy for my dog?
You can create a simple puzzle toy by hiding treats inside a water bottle or PVC pipe with holes, or by placing treats under tennis balls in a muffin tin. These toys encourage your dog to use problem-solving skills to get their reward.
Can I make toys for dogs of all sizes and chew strengths?
Yes, you can tailor DIY toys to suit dogs of any size and chew strength by selecting the right materials and adjusting the size of the toys. For aggressive chewers, use more durable materials and ensure the toys are large enough to prevent accidental swallowing.
How do I maintain and clean DIY dog toys?
Regularly inspect toys for wear and tear, and clean them with pet-safe detergent or soap. Some toys can be machine washed, while others may require hand washing. Always thoroughly dry toys before giving them back to your dog.


